by YD Blog Team | Oct 27, 2023 | Community, Health, Mindfulness, Teacher Feature, The Blog, Yoga District Community, Yoga for All, Yoga Poses, Yoga Practice, Yoga Teacher
Ever wonder how yoga relates to justice and peace? Check out a blog post by Yoga District founder Jasmine on how our yoga practice can serve as self care and as a practice of peace in its own right. From teachings of former Harvard Professor Ram Das to Nobel Peace... 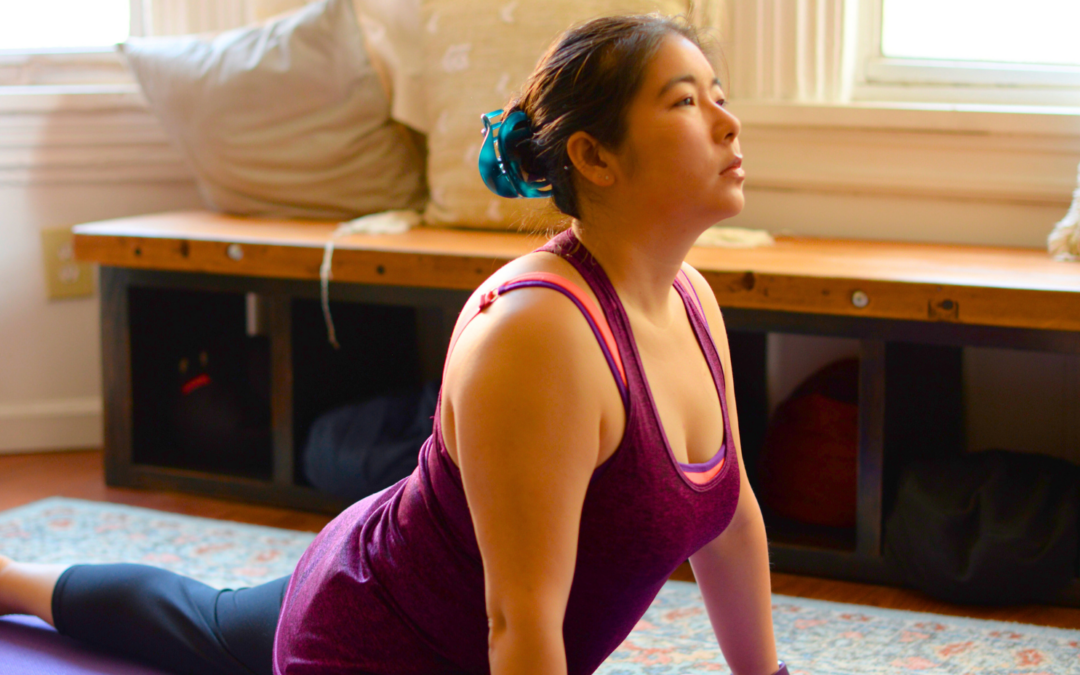
by YD Blog Team | Oct 2, 2023 | Community, Health, Mindfulness, Teacher Feature, The Blog, Yoga District Community, Yoga for All, Yoga Poses, Yoga Practice, Yoga Teacher
Meet Maylin, one of our teachers at Yoga District who focuses on accessibility, inclusivity, and healing practices. Learn about her journey with yin yoga and how she helps her students practice the best yoga for their bodies. Check out Maylin’s current class... 
by YD Blog Team | Sep 11, 2023 | Activism, Conscious Eating, Environmentalism, Green Living, The Blog, Yoga Ethics
In yoga traditions, our connection to the Earth is an important part of the practice. The word yoga is derived from sanskrit yuj, which means “union”(1). This “union” mentioned so often in yoga texts extends beyond our physical bodies. It encompasses the metaphysical... 
by YD Blog Team | Jul 14, 2023 | Drinks, Frozen Treats, Gluten Free, Recipes, The Blog, Vegan
Find some relief from the soaring summer heat with delicious watermelon! This watermelon slushie is easy and healthy. Besides being refreshing, it provides a lot of health benefits. I developed this recipe years ago when dealing with the unrelenting heat of summer... 
by YD Blog Team | May 31, 2023 | AAHPI Month, Holistic Wellness, Openness, Self-Care, The Blog, Yoga District Community
Anya, a member of the Yoga District community, shares her powerful relationship with breathe and her journey to breath. I grew up fearing my own breath and fearing my own body. As a child, I was raised with the kind of religion that espouses “if I die before I... 
by YD Blog Team | May 12, 2023 | The Blog, Training, Yoga District Community, Yoga Teacher
If you’ve ever wondered what happens in yoga teacher training, take a sneak peak with Aaron. Now a leading instructor at Yoga District, Aaron recounts the closure of his yoga teacher training journey. Find out how he tackled the mountain of homework and how his first...